Sue’s Strawberries and Cream Birthday Cake

With my step-mum Sue in Epping Forest in the 1980s

I clearly remember my Dad telling me one summer holidays when I was staying with him in London that he wanted to introduce me to someone special: his girlfriend, Sue. I was about seven or eight years old. I remember being taken completely by surprise but I couldn’t wait to meet her. Particularly because she had hand-sewn me the most exquisite little doll. When I met her, I thought she was a bit like a princess with her long brown hair and her beautiful dresses. Rather like her doll!

For some reason, it wasn’t until I had my first child that it dawned on me how significant a role Sue had played in my childhood. It’s quite common I think for women not to acknowledge what their mothers have done for them until they have their own children. The same was true for me. I saw both my Mum and Sue in new lights.

Whenever I came to stay in London with my Dad during the school holidays, Sue would always make a huge effort with me. We baked together, she helped me make my own dresses, she taught me to play the recorder, she’d take me into the Chelsea Playground where she worked, and we’d play endless games – picture consequences was a particular favourite of mine.

I was 12-years-old when I came to live permanently with my Dad and Sue in London. My twin sisters were just a year old. For me it was all a big adventure; moving to London, getting a new bedroom, starting a new school and meeting new friends. I really never thought about what a massive impact this must have had on Sue’s life: bringing a near-teenager into your home when your hands are already very much full with two little babies. I can’t imagine many people would put themselves forward for that. I’m not sure if I’ve ever said a proper thank you to Sue for this. So, thank you. I’ll say it properly in person when I next see you!

And all this is why I’m so pleased Sue has entered this cake into TACT’s Care to Cook family recipe challenge. Because Sue knows a thing or two about family and welcoming young people into her home.

Over to Sue for her very special Strawberries and Cream Birthday Cake…

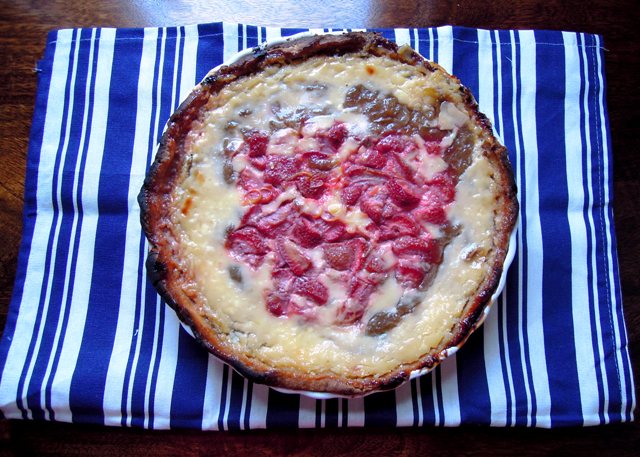
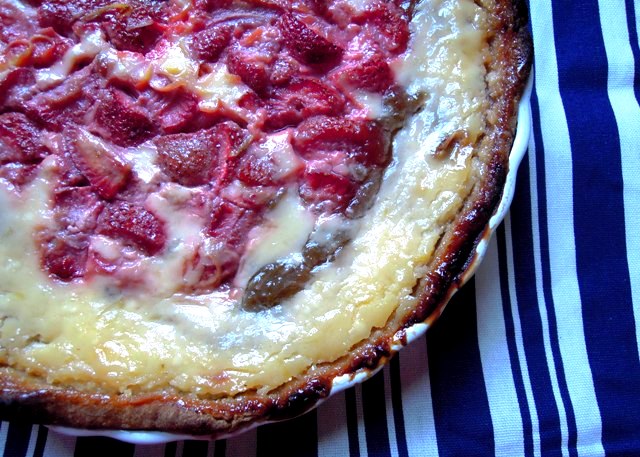
Since I first made this cake one June to celebrate my twin daughters’ birthday – or should that be birthdays? – I’ve made it almost every year. Often we waited for their birthday to have the first strawberries of the year – all the better for the waiting! When they were away at university it was something to have when they returned home.

We may not have it quite so often these days but this year – when Lottie returned from Spain and met up with her sister, Maura in London – we shared it again. Cakes are often part of getting together as a family and seem to signify special times or celebrations often becoming a bit of a family tradition. Cranberry muffins on Christmas morning whilst we open the presents is another one in our house.

But as it’s summer and strawberries are still good here goes.

(The Victoria sandwich recipe here is based on one of Mary Berry’s. My mother gave me a copy of book of her cake recipes and it’s one of the most used in the house – much splattered and stained to prove it!)

Strawberries and Cream Birthday Cake

4 free-range medium eggs
225g caster sugar
225g self-raising flour
2 tsp baking powder
225g baking spread, margarine or soft butter at room temperature (or a combination of the two to make the same amount) plus a little extra to grease the tins

For the filling and topping:

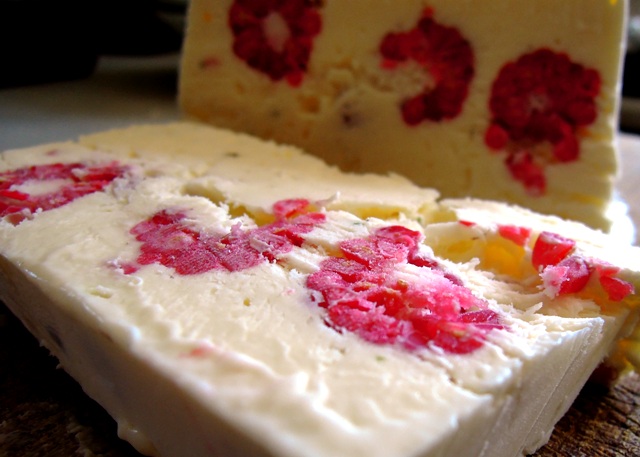
At least one punnet of ripe strawberries – some sliced in half (for between the layers), the rest left whole
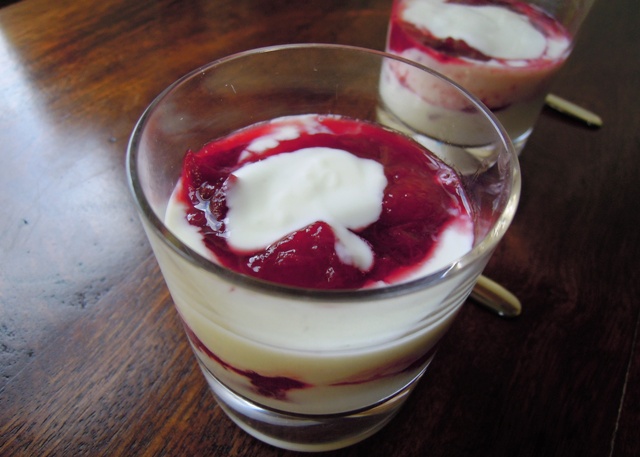
300ml whipped double cream
450g strained Greek yogurt and whipped cream (see below)
mint leaves for decoration

Preheat the oven to 180C/Gas 4.

If using tins rather than silicone cake moulds, grease and line two 20cm sandwich tins: use a piece of baking or silicone paper to rub a little baking spread or butter around the inside of the tins until the sides and base are lightly coated. Line the bottom of the tins with a circle of baking or silicone paper; to do this, draw around the base of the tin onto the paper and cut out.

Break the eggs into a large mixing bowl, then add the sugar, flour, baking powder and baking spread.

Mix everything together until well combined. The easiest way to do this is with an electric hand mixer, but you can use a wooden spoon. Put a damp cloth under your bowl when you’re mixing to stop it moving around. Be careful not to over-mix – as soon as everything is blended you should stop. The finished mixture should be of a soft ‘dropping’ consistency – it should fall off a spoon easily.

Divide the mixture evenly between the tins: this doesn’t need to be exact, but you can weigh the filled tins if you want to check. Use a spatula to remove all of the mixture from the bowl and gently smooth the surface of the cakes.

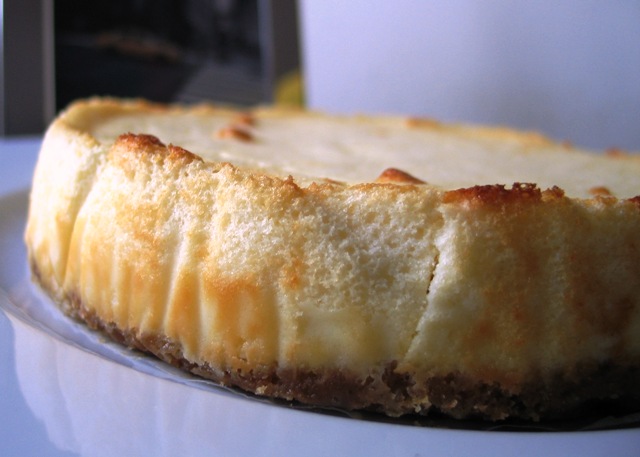
Place the tins on the middle shelf of the oven and bake for 25 minutes. Don’t be tempted to open the door while they’re cooking, but after 20 minutes do look through the door to check them.

The cakes are done when they’re golden-brown and coming away from the edge of the tins. Press them gently to check – they should be springy to the touch. Remove them from the oven and set aside to cool in their tins for five minutes. Then run a palette or rounded butter knife around the inside edge of the tin and carefully turn the cakes out onto a cooling rack.

To take your cakes out of the tins without leaving a wire rack mark on the top, put the clean tea towel over the tin, put your hand onto the tea towel and turn the tin upside-down. The cake should come out onto your hand and the tea towel – then you can turn it from your hand onto the wire rack.

Set aside to cool completely.

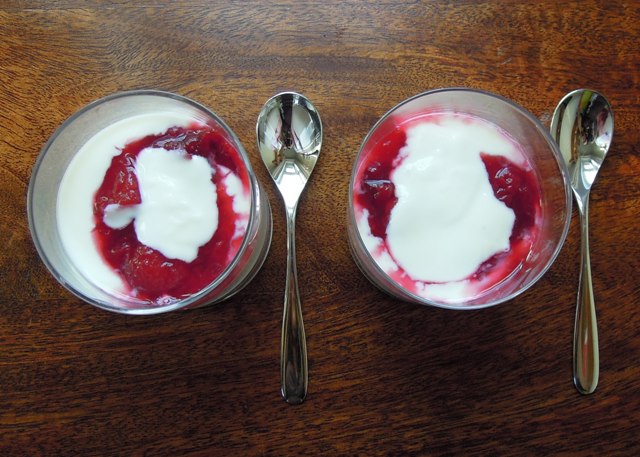
Whip the double cream until thick and stiff. At this point I fold some thick, strained Greek yogurt into the cream; it takes away a little of the richness and makes for a lighter cake. I usually use two-parts cream and one-part yogurt but you can decide on what proportions you prefer.

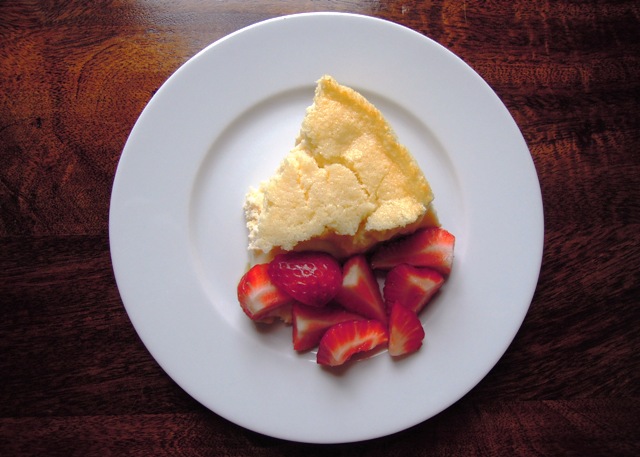
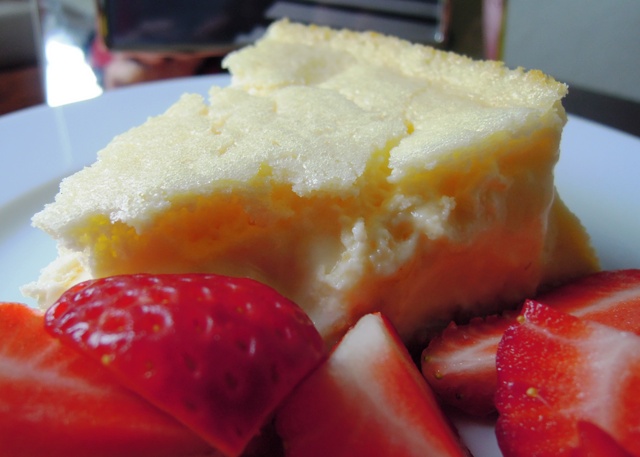
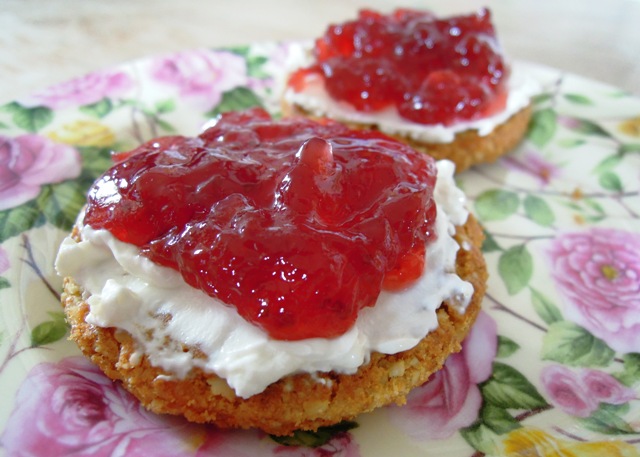
To assemble the cake, place one cake upside down onto a plate and spread with about half of the cream mixture. Then arrange the halved strawberries on top – you want to cover the entire surface. Place the next layer of sponge on top – add a little more of the cream if the top layer won’t stick to the bottom one.

Spread the rest of the cream mixture on top and crown with the whole strawberries to cover. Arrange them so that they look pretty.

Finally, decorate with a few mint leaves.

Barbara’s Courgette Bake and Vanilla Cream Terrine for the Care to Cook Challenge

Knitting with my Nana Barbara back in the 1980s

My parents split up when I was very little. I can barely remember them being together. So much so, I’m not totally sure how old I was when they went their separate ways. Two perhaps, or three?

But despite that, my dad’s parents, my Nana Barbara and Grandad Peter, ensured they remained constant factors in my life – through my childhood and teens, my university days and when I started my own family and they became great-grandparents. My mum moved around the UK quite a bit as I was growing up, but no matter where we went, Nana Barbara and Grandad Peter would trek across the country to come and visit me. Because family is important. I grew up knowing that and knowing how much I was loved. And that is so important.

I am so pleased my Nana Barbara has entered these recipes into the Care to Cook recipe challenge to raise awareness of the fostering and adoption charity TACT. I always associated visits from my grandparents and then later, when I was old enough to go and stay with them in Lancashire and then the Lake District, with food. Homebaked cakes, pies, tarts, casseroles and puddings. Dinner round the table. Proper family food.

My Grandad Peter and my Nana Barbara with me and my daughter Jessie a few years ago

The two dishes Nana has entered are actually new ones on me, and I can’t wait to try them out…

Courgette Bake

In one bowl mix:

2 grated courgettes
1 grated carrot
1 chopped onion
5 rashers of chopped up crispy bacon
1 cup grated tasty cheese
1 cup self-raising flour

In a second bowl mix:

5 eggs, beaten
½ cup olive oil
salt and pepper
crushed clove of garlic
1tsp paprika

You’ll also need:

Parmesan or cheddar for sprinkling on top
Chopped fresh parsley to finish

Stir bowls one and two together, then spread into a lasagne dish. Sprinkle with Parmesan or Cheddar cheese.

Cook at 200°c for 30 to 40 minutes. Serve hot or cold, garnished with fresh parsley. Will serve six people.

Vanilla Cream Terrine

2 tsp vanilla extract
425ml whipping cream
11g sachet powder gelatine
85g caster sugar
425g Greek yoghurt
Mint leaves and raspberries to garnish
raspberry couli

Begin by placing the gelatine in a cup together with three tablespoons of the cream and leave to soak for 10mins.

Meanwhile place the rest of the cream in a saucepan with the sugar and heat gently until sugar has dissolved. It is important not to overheat the cream. Next, add the soaked gelatine to the warmed cream and whisk everything over the heat for a few seconds. Now remove the cream mixture from the heat.

In a mixing bowl, stir the yoghurt & vanilla together, then pour the gelatine cream mixture through a sieve. Mix very thoroughly and pour the whole lot into a plastic box (I use an old ice cream container). Allow to cool, cover and chill in the fridge for at least 4-6 hours or overnight.

Serve sliced, with fresh raspberries and mint springs, with a pouring of raspberry coulis.

Thanks Nana!

Raspberry, lemon and mint semifreddo

Semifreddo is a wonderfully easy ice-cream to make for anyone who, like me, doesn’t own an ice-cream maker. Usually it is made from eggs and whipped cream but this version uses condensed milk instead of eggs, making it even more of a doddle. It looks really rather impressive though, so no-one would ever guess it only took 10 minutes to make!

I got the idea for a semifreddo made from condensed milk from Kavey Eats. The theme for her Bloggers Scream For Ice Cream challenge this month you see just happens to be condensed milk, and I was intrigued.

The recipe I’ve come up with to enter the challenge is a light and summery combination of perfumey raspberries with zingy lemon, lifted further still by the addition of chopped fresh mint. It’s loosely based on a recipe I saw on the Carnation website.

And as the recipe also features lots of lovely mint, I’m also entering this semifreddo into Lavender & Lovage’s Herbs on Saturday challenge.

Raspberry, lemon and mint semifreddo

1 can (405g) sweetened condensed milk
juice of 3 lemons
grated zest of 1 lemon
300ml whipping cream
200g fresh raspberries
large handful fresh mint, finely chopped

In a large bowl, mix together the condensed milk, lemon juice, zest and whipping cream. Whisk until you have soft peaks.

Carefully fold in the raspberries and fresh mint.

Spoon the mixture into a 2 litre loaf tin lined with clingfilm, covering the top with more clingfilm. Freeze for at least four hours or preferably overnight.

Simply slice and serve.

American-style baked cheesecake

Happy Fourth of July! Yes, it’s American Independence Day and so in honour of our cousins over the pond, here is my recipe for a baked American-style cheesecake.

I adore baked cheesecakes – the way the top is all cakey, soft and crumbly while the inside is sumptuously creamy and quite decadent. Matched with the crunchy biscuit base and sweet fruit on the side, what more could you ask for in a pud?

American-style baked cheesecake

Serves 6-8

For the biscuit base

75g digestive biscuits, crushed
40g butter, melted
35g Demerara sugar

For the cheesecake

45g butter, softened
150g caster sugar
400g cream cheese
20g corn flour
Pinch of salt
Zest of 1 lemon
1 tsp vanilla extract
3 eggs, separated
130ml double cream, lightly whipped

Fresh berries to serve

Preheat oven to 160°C/gas mark 3.

Lightly grease a 20cm loose-bottomed cake tin and line with greaseproof paper.

Put the crushed biscuits, butter and Demerara sugar into a bowl and mix well. Spread over the base of the tin and press down well. Place in the fridge for half an hour to set.

Into a large bowl measure the butter, caster sugar, cream cheese, corn flour, salt, lemon zest, vanilla extract and egg yolks and beat with a wooden spoon until smooth. Then fold in the lightly whipped cream.

Whisk the egg whites until stiff and then carefully fold into the cheesy mixture using a large metal spoon.

Pour the cheese mixture onto the chilled biscuit base.

Bake in the oven for about an hour until set. Turn off the oven and leave the cheesecake in there for another hour to cool.

If like me you have an Aga, then bake in the roasting oven on the shelf on the floor with the cold plain shelf on the second set of runners. Bake for 20 minutes until the top is pale golden. Transfer the cold plain shelf to the middle of the simmering oven and place the cheesecake on this. Bake for another 20-30 minutes. Thanks to Mary Berry for the Aga baking advice!

Remove the cheesecake from the oven and cool in the tin. Carefully run a knife around the edge, lift out from the tin and remove the greaseproof paper.

Serve with your favourite berries – I went for strawberries – I am eating it in Britain after all!

Strawberry, rhubarb and lemon tart

Lots of people have been talking about strawberries and rhubarb making a winning combination, so when my lovely friend Sarah gave me a big bunch of rhubarb from her garden the other week, I thought it was about time I found out what all the fuss is about.

They weren’t wrong. Sweet strawberries are the perfect foil for the tartness of rhubarb. And for me the creamy tanginess of a lemon tart provides a perfect base for this fruit frenzy.

Alright, I have to admit though my strawberry, rhubarb and lemon tart isn’t the prettiest pudding around. Presentation, particularly when it comes to sweet things, isn’t always my strong point. And I did slightly over-colour the pastry. But then, I am a home cook after all. As long as it tastes good, then I’m happy. Very happy in fact.

Strawberry, rhubarb and lemon tart

Serves 8

For the pastry case

125g soft butter
100g icing sugar
Pinch of salt
250g plain flour
2 egg yolks
2 tbsp milk

600g rhubarb, chopped into inch-long chunks
6 tbsp granulated sugar
Splash orange juice
400g strawberries, hulled and quartered
170g caster sugar
4 eggs
170ml double cream
Juice and grated zest of 3 lemons

Start by making the pastry. In a large bowl, cream together the butter, icing sugar and salt. Then add the flour and egg yolks and rub in until the mixture resembles coarse breadcrumbs. Add the milk and work together to form a dough.

Wrap the dough in cling film and rest in the fridge for 30 minutes.

Preheat the oven to 180ºC/gas mark 4.

Grease a 30cm tart dish. Roll out the pastry into a large circle and carefully line the dish, pressing the pastry into the edges and making sure it comes fully up the sides. You may need to do some patching up here and there – I always do.

Blind bake the empty tart for 15 minutes until the pastry is coloured ever so slightly. Then leave to one side while you prepare the filling.

Place the chopped rhubarb in a saucepan with 4 tablespoons of granulated sugar and a splash of orange juice and heat gently. Cook for 10 to 15 minutes until the rhubarb is tender but still has a little bite in it.

In a bowl, scatter 2 tablespoons of granulated sugar over the chopped strawberries and gently mix together.

Whisk together the caster sugar and eggs in a large bowl and then stir in the cream, lemon juice and zest.

Spoon the strawberries into the middle of your pastry tart and arrange the cooked rhubarb around this. Then pour over the creamy lemon mixture and carefully transfer this to your oven. You should do here as proper chefs suggest and pour in the mixture when the tart is already in the oven to reduce spillage, but I invariably forget this bit and have to mop the floor afterwards.

Bake for around 45 minutes until the filling is firm but still has a little wobble to it, and if you can (unlike me) catch it before the pastry turns too dark around the edges. But hey, don’t worry if it does. My dad always told me the burned bits were good for your insides.

Leave to cool for an hour or so while the filling sets some more. Serve with some vanilla ice cream or a dollop of creme fraiche.

I’m entering this tart into the Tea Time Treats blog challenge hosted by What Kate Baked and Lavender & Lovage, as the theme this month is Summer Fruits. As Wimbledon approaches, what fruit could better represent the British idea of summer than the ubiquitious strawberry?

Low-fat fruit fools

Plum and stem ginger fools

Fools are one of my favourite puddings. There is nothing finer than the combination of sweet, almost syrupy cooked fruit folded into gorgeously indulgent whipped cream.

I’m intrigued as to why they deserve the name fool, as there is nothing foolish about this desert in my eyes. All I’ve manged to discover is their first mention is in England during the 15th/16th century, along with that other great favourite of mine, the trifle.

The problem is though they really don’t do any favours for my ever-expanding waistline. I’ve taken the decision recently to try to eat a little more healthily. Don’t get me wrong, I’m not going overboard. Just a few tweaks here and there – a little less butter, a few less carbs, watching those portion sizes, avoiding the biscuit tin in the office, and controlling my passion for double cream.

So I’ve tried out a couple of healthier takes on the traditional fool and the results have been rather pleasing. Both times I served them up for dinner guests and both times they went down a storm.

The first was a plum fool and I replaced all of the whipped cream for low-fat Greek yoghurt. When my husband heard what I was doing, I could see the disappointment in his eyes. A fool without cream? That’s like a hot crumpet without the butter! But there was no need for despair. The almost fat-free fool was a complete and utter triumph and still felt naughtily indulgent and satisfying and, well, everything you’d expect from a proper pudding, but without all the calories. Fabulous.

I followed this a week later with a rhubarb fool. This time I went for a half-cream half-yoghurt combination.

My (almost) low-fat rhubarb and stem ginger fool

Again it was delicious and certainly more creamy, but I wouldn’t say it was any better than the plum version for the inclusion of cream. So I proudly present a pudding that is delicious without being too bad for you. You decide whether to use cream and yoghurt or just yoghurt – it all depends on how happy you are with the size of your waist I guess.

Both fools feature crystallised stem ginger quite heavily too, as I happened to have a jar in. But if it’s not one of your favourite flavours, feel free to omit. Replace the syrup in the recipe with some runny honey or icing sugar.

Plum and stem ginger yoghurt fool

Serves 4

5 plums, stoned and quartered
1 ball crystallised stem ginger, finely chopped, and some of the syrup from the jar
2 tbsp demerara sugar
Splash of orange or apple juice
300ml low-fat Greek yoghurt

Place the plum quarters, ginger and sugar in a saucepan with a splash of fruit juice. Cover and cook gently for 10 to 15 minutes until the plums are soft. Leave to cool.

Stir a tablespoonful or two of the syrup from the jar of crystallised ginger into the yoghurt.

Spoon a layer of the yoghurt into the base of four glasses or small bowls, followed by a layer of the plums. Continue with alternate layers of yoghurt and plum until they’re all used up. Keep chilled in the fridge until you are ready for them.

A pair of plum fools

Rhubarb and stem ginger fool

400g rhubarb, cut into inch long chunks
1 ball crystallised stem ginger, finely chopped, and some of the syrup from the jar
3 tbsp demerara sugar
Splash of orange or apple juice
150ml double cream
150ml low-fat Greek yoghurt

Place the rhubarb chunks, ginger and sugar in a saucepan with a little of the fruit juice. Cover and cook gently for 10 to 15 minutes until the fruit is soft. I like the rhubarb to be just turning mushy but still has a little bite. Leave to cool.

Stir some of the syrup from the jar of crystallised ginger into the yoghurt.

Whisk the double cream until it forms soft peaks and then gently combine with the yoghurt.

Pour half of the cooled rhubarb into the cream and yoghurt and mix together gently.

Divide the remaining rhubarb between four glasses or small bowls and then top with the rhubarb, cream and yoghurt mix. Chill in the fridge until it’s time for pudding.

Creamy rhubarb fool

Cheat’s strawberry cheesecake biscuit

Food is such a fantastic conversation starter the world round, isn’t it? As a freelancer I’m constantly in and out of different work locations getting to know new groups of people, and I find that food is always a common denominator. Or maybe it’s just me?

Anyway, I’m working for a few months in the marketing team at Bath Spa University where I sit next to the lovely Stef and we talk food quite a bit. It was Stef who passed on this easy peasy idea for livening up manky (or was it skanky?) Digestive biscuits lurking in the bottom of the tin: turn them into strawberry cheesecake biscuits – genius!

That same day, knowing I didn’t actually have any biscuits (neither manky nor skanky) at home, I stopped off on my way back to pick some up just so I could give it a go. I opted for Hob Nobs instead of Digestives as I thought these might be more reminiscent of the cheesecake base.

Stef wasn’t wrong – these really are good. A great way to use up old biscuits or a ridiculously simple sweet treat when you don’t have the time or energy to make a proper pudding. And they take only a minute to make.

No recipe required here – simply take your biscuit of choice and spread with cream cheese, then top with strawberry jam or any other flavour jam you happen to have at your disposal. My girls, Jessie and Mia, made them with me after tea and they were a big hit all round.

I’m only at Bath Spa for a couple more weeks, so I’ll need to get Stef to share the rest of her cheat’s repertoire with me before I move on…

Raspberry chocolate mousse

I love chocolate mousse. It’s probably my favourite dessert in the whole world.

I love it even more because it’s just so easy to make and so versatile. You can add fruit or alcohol or a whipped cream topping, and make it with any type of chocolate you fancy.

And this is my favourite recipe for chocolate mousse, which I’ve adapted from one I got from Riverford, my regular source of inspiration these days. As you’ll see from the photo, I last made it for our Valentine supper and I’ll be making it again at the weekend when friends come to stay.

Raspberry chocolate mousse

Serves 4

180g dark chocolate
2 tbsp milk
6 large eggs, whites and yolks separated
2 handfuls of raspberries (you can use fresh or frozen)
Icing sugar to serve

First of all, melt the chocolate. I tend to do this in the microwave – if it’s good enough for Nigella, then it’s good enough for me. Break the chocolate into small pieces and place in a bowl with the milk. Microwave on a low setting for a couple of minutes and then give it a stir. Put it back in again for another minute or so if it needs a little longer.

Alternatively use the ‘double boiler’ method. Put the chocolate and milk in a heatproof bowl over a pan of very gently simmering water. Make sure to choose the right sized bowl which doesn’t touch the water. Gently melt the chocolate and take care not to leave it on the heat too long.

Allow the melted chocolate to cool for a few minutes, while you whisk up the egg whites until they form soft peaks.

Beat the egg yolks and then stir these into the chocolate. Then gently fold a few spoonfuls of the egg whites into the chocolate until no traces of white remain. Continue folding in a little egg white at a time until it’s all combined into the mousse mixture.

Place a few raspberries at the bottom of four ramekins or small dishes or glasses, before spooning over the mousse. Chill for at least two hours (or overnight) and top with a couple more raspberries and a little icing sugar before serving.

Lemon and ricotta pancakes

If you are looking for a twist on the traditional pancake this Shrove Tuesday, why not give these delicious lemon and ricotta pancakes a go?

Adapted from a recipe in The French Women Don’t Get Fat Cookbook by Mireille Guiliano, they are temptingly light and fluffy with a hint of citrus zing.

Lemon and ricotta pancakes

Serves 4

4 eggs
250g ricotta cheese
35g plain flour
50g caster sugar
2 unwaxed lemons
50g butter for frying
Honey to serve

Separate the eggs into two large bowls. Whisk up the egg whites until they form soft peaks and put to one side.

Give the egg yolks a quick beat. Zest the two lemons and add to the yolks. Sieve the flour onto the yolks, then add in the ricotta and sugar. Gently mix together.

Fold in the egg whites gently so you don't lose all that air

Spoon a quarter of the egg whites into the rest of the pancake mixture and carefully fold in. Once combined, gently fold in the remainder of the whites.

Melt enough butter to cover the bottom of your frying pan. Spoon in the pancake mix. You need around a tablespoon of mixture for each small pancake, and you should be able to cook around four at a time, depending of course on the size of your pan.

Fry your dainty pancakes until golden

Fry the pancakes for a couple of minutes until tiny holes appear on the surface. Flip them over and cook for another two to three minutes until a gorgeous golden colour.

Keep the pancakes warm until you’ve cooked them all. Then serve immediately with a drizzle of honey and a good squeeze of lemon.

Christmas pudding ice cream

Every year, we always find ourselves stuck with a Christmas pudding at the back of the cupboard long after the festivities have ended. It generally ends up in the bin since it’s not something we can really cope with eating at any other time of year.

I’m not sure why I bother buying one, since I’ve never been a big fan. I think it’s just one of those things you’re supposed to have. It’s always there in case one of our many visitors suddenly has an urge to consume pudding on top of everything else we’ve already fed them.

So when I saw a recipe idea in the December edition of Red magazine for Christmas pudding ice cream I had a feeling it might come in very handy. And indeed it did. It’s a much lighter dessert with a lovely hint of Christmas. You get all the festive flavour but without the dense stodginess.

I didn’t bother putting the ice cream in a bowl lined with cling film, nor turning it out before eating and decorating with walnuts and chocolate-dipped orange peel as the magazine suggested, although I’m sure this would look wonderful. Just the ice cream on its own was lovely, and one people find irresistible even if they don’t like Christmas pudding normally.

So if you’ve still got a pud lurking at the back of your cupboard, why not give this a whirl?

Ingredients

1 small Christmas pudding (or whatever you happen to have left over)
2 litres good vanilla ice cream
Slug of brandy (optional)

Cook your pud and allow to cool. Leave the ice cream at room temperature to soften a little and add the broken up pudding and brandy (if using). Mix well.

Pour into your container of choice (lined with cling film if you want to turn out for serving) and freeze for at least a couple of hours.

Decorate with nuts and fruits before presenting to your guests or, like me, simply serve on its own straight from the tub.