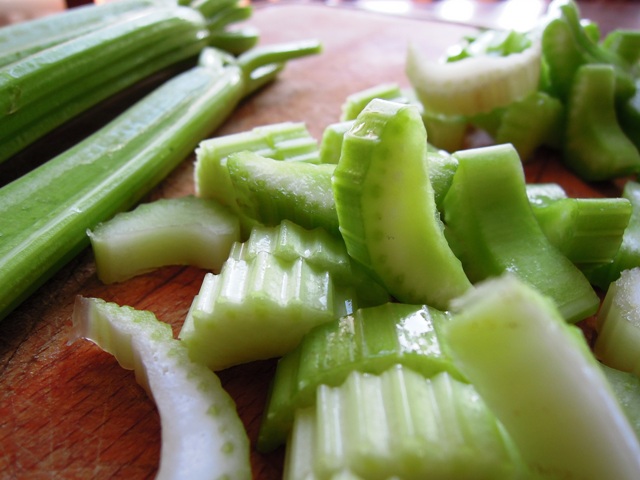
I know spring has most definitely sprung when the scent of wild garlic starts wafting out from the hedgerows, which are completely overrun by them this time of year. As the weeks go on, the aroma can get really rather heady and pungent. Almost intoxicating on warmer days when the pretty white flowers are in full bloom.
Despite being in plentiful supply for at least a month of the year here in Somerset, I’ve never made much use of them other than adding a few chopped leaves in a salad here and there. But now that I’m a genuine foodie (well, I write a food blog don’t I?), I’ve decided it’s my duty to do more with them.

Also known as ransoms, buckrams, broad-leaved garlic, stinking Jenny, wood garlic, bear leek, bear’s garlic and gypsy’s onions, the wild garlic is a wild relative of the chive. It has a delicate taste, a delicious combination of chive and garlic. Both the leaves and the flowers are edible.
When thinking of recipe ideas for the wild garlic, two immediately came to mind: risotto and pesto.
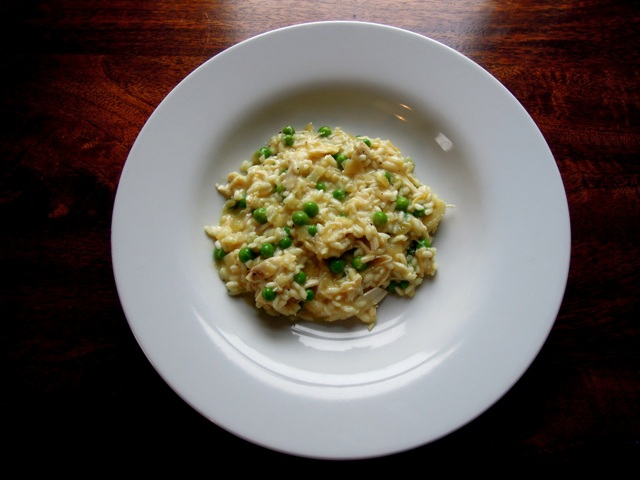
Last weekend we tried it in a risotto and it was an absolute triumph. Grown ups and children enjoyed it alike. I was impressed by the fact it tasted so special, almost extravagant, even though one of the main ingredients was completely free. Perfect family food on a budget. It felt good to pop down the lane with my oldest daughter, grab a few bunches and within half an hour or so turn it into a delicious feast.
I plan to try it in a pesto next week, so watch this space.
In the meantime, here’s my recipe for wild garlic risotto. I happened to have some leftover chicken from another meal in the fridge so I’ve added this but I think it would work equally well without.
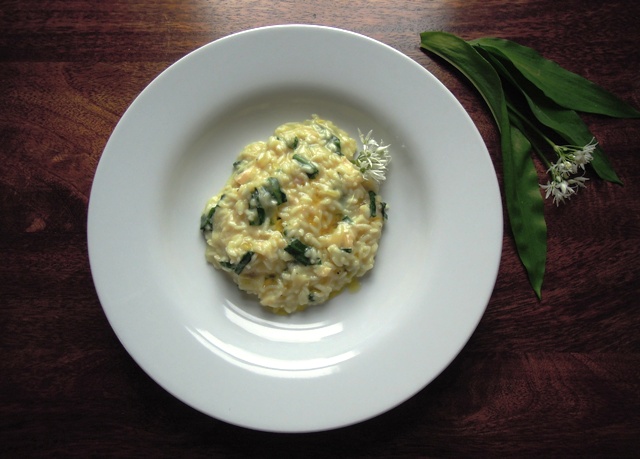
Wild garlic risotto
Serves 4
2 tbsp olive oil
1 onion, peeled and finely chopped
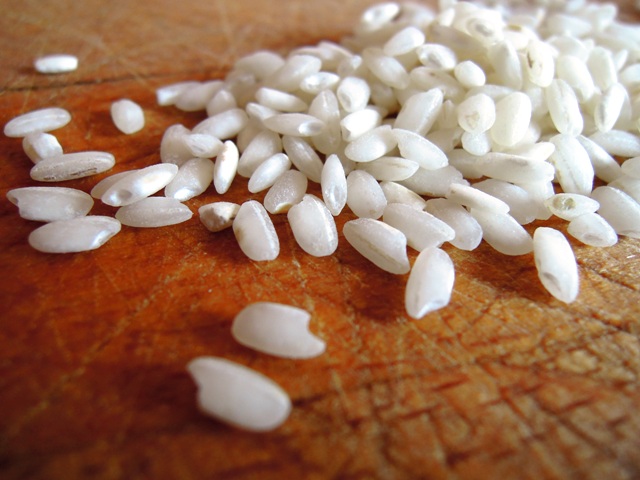
320g arborio risotto rice
1 litre hot chicken or vegetable stock
300g cooked chicken, torn or cut into bitesized pieces (optional)
2 large handfuls wild garlic leaves, washed and roughly shredded
100g Parmesan cheese, grated
Salt and pepper
Extra virgin olive oil and wild garlic flowers to serve
Gently cook the onion in the olive oil in a large frying pan for around 10 minutes until golden. Add the rice and fry for another couple of minutes.
Stir in the hot stock to the rice a ladleful at a time, allowing the liquid to be absorbed before adding more. Keep going until you have added almost all the stock.
As the last ladleful goes in, throw in the wild garlic and (if you’re using it) cooked chicken, and stir together for two to three minutes.
Just before serving, stir in the Parmesan cheese and a grind of salt and pepper to taste. Plate up, drizzle with a little extra virgin olive oil and decorate with a wild garlic flower or two.